 |
| My British Armoured Division tanks, half tracks and Daimler Dingo |
After receiving some kind remarks about my Market Garden campaign armour and some questions on how I painted them I thought I would put up a post about how I paint armour which is fairly quick and very effective. It works for both Allied armour and Early War German. Here it is.
 |
| Early War Panzer IIIL and Artillerie-Schlepper VA60 before weathering |
Start by priming your vehicle black. I use GW Chaos Black because I like it; it dries quick and has a nice matt finish. Can't say it better or worse than others, it's just what I am used too.


Step 1: Starting with the German armour, I mix some Vallejo German Grey with some Glasgow City Council water (most, if not all tap waters work equally well) about 50/50. I then pick up some paint on this Daler Rowney number 10 brush ( I have heard tell that the dry brush that GW produce is excellent however it is a wee bit more expensive than the Daler Rowney brush and anyway, I like to support my local artist shop....except when it comes to buying GW Chaos Black ) and, wiping the brush back and forwards on a piece of kitchen towel (some authorities recommend a piece of scrap cardboard; I have never used cardboard myself but I am sure it would work equally well), remove the excess paint. I then brush the armoured vehicle vigourously all over, repeating the two steps above; pick up the paint on the brush, remove the excess, brush the remainder onto the armoured vehicle till only the recesses on the vehicle are still black. Leave for about 5-10 minutes the move onto step 2.

 |
| After the first dry brushing session, only the deep recesses are still black |
Step 2. Next I lighten the German Grey either with white or light grey, (add a little at a time) whichever I have to hand, as long as it is noticeably lighter than the German Grey and repeat the steps about but with a slightly less vigour. You will have to add some more water too to maintain the consistency. You'll have guessed by now that I am not too concerned about getting colours exactly correct. I'm more concerned with the overall look.
If you are worried about making any of the highlights too light then take a more measured approach and add less of the lighter colour and dry brush with that and work your way up the lighter shade.
Now where was I....oh yeah, once the vehicle has stowage, decals and weathering applied the exact colour won't matter. So long as it's in the parish I'm happy.
 |
| After the second dry brush |
Step 3; Yep, you guessed it, add more white/light grey (and water) to the mix and carry on as before. And, like before, use a less vigourous painting action.
 |
| Third dry brush. Happy with that. Next step would be the tools and decals. I will add stowage and then it's time for weathering |
And it's the same with the Allied armour. The only difference is the paints, obviously
|
| Primed and ready to go |
Step One: I mixed the US Dark Green with water and dry brushed as described above.
 |
| Paints for British and Commonwealth armour. For US armour I use Vallejo Olive Drab. I should have added Matt Balck to this photo |
 |
| First dry brush for the British and Commonwealth tanks |
Step 2: Mix Russian Uniform Green with some water then dry brush as before.
 |
| Second drybrush |
 |
Step 3; Add some Khaki to the Russian Green, again just enough to make a noticeable difference in the colours. Then dry brush as before
 |
| Third dry brush. Good enough to be getting on with |

For US armour we use Olive Drab as our starter colour then progressively lighten using a tan or light green. In this case I used Stone Grey, sparingly.
  |
| First dry brush result |
 |
| Second dry brush result |
 |
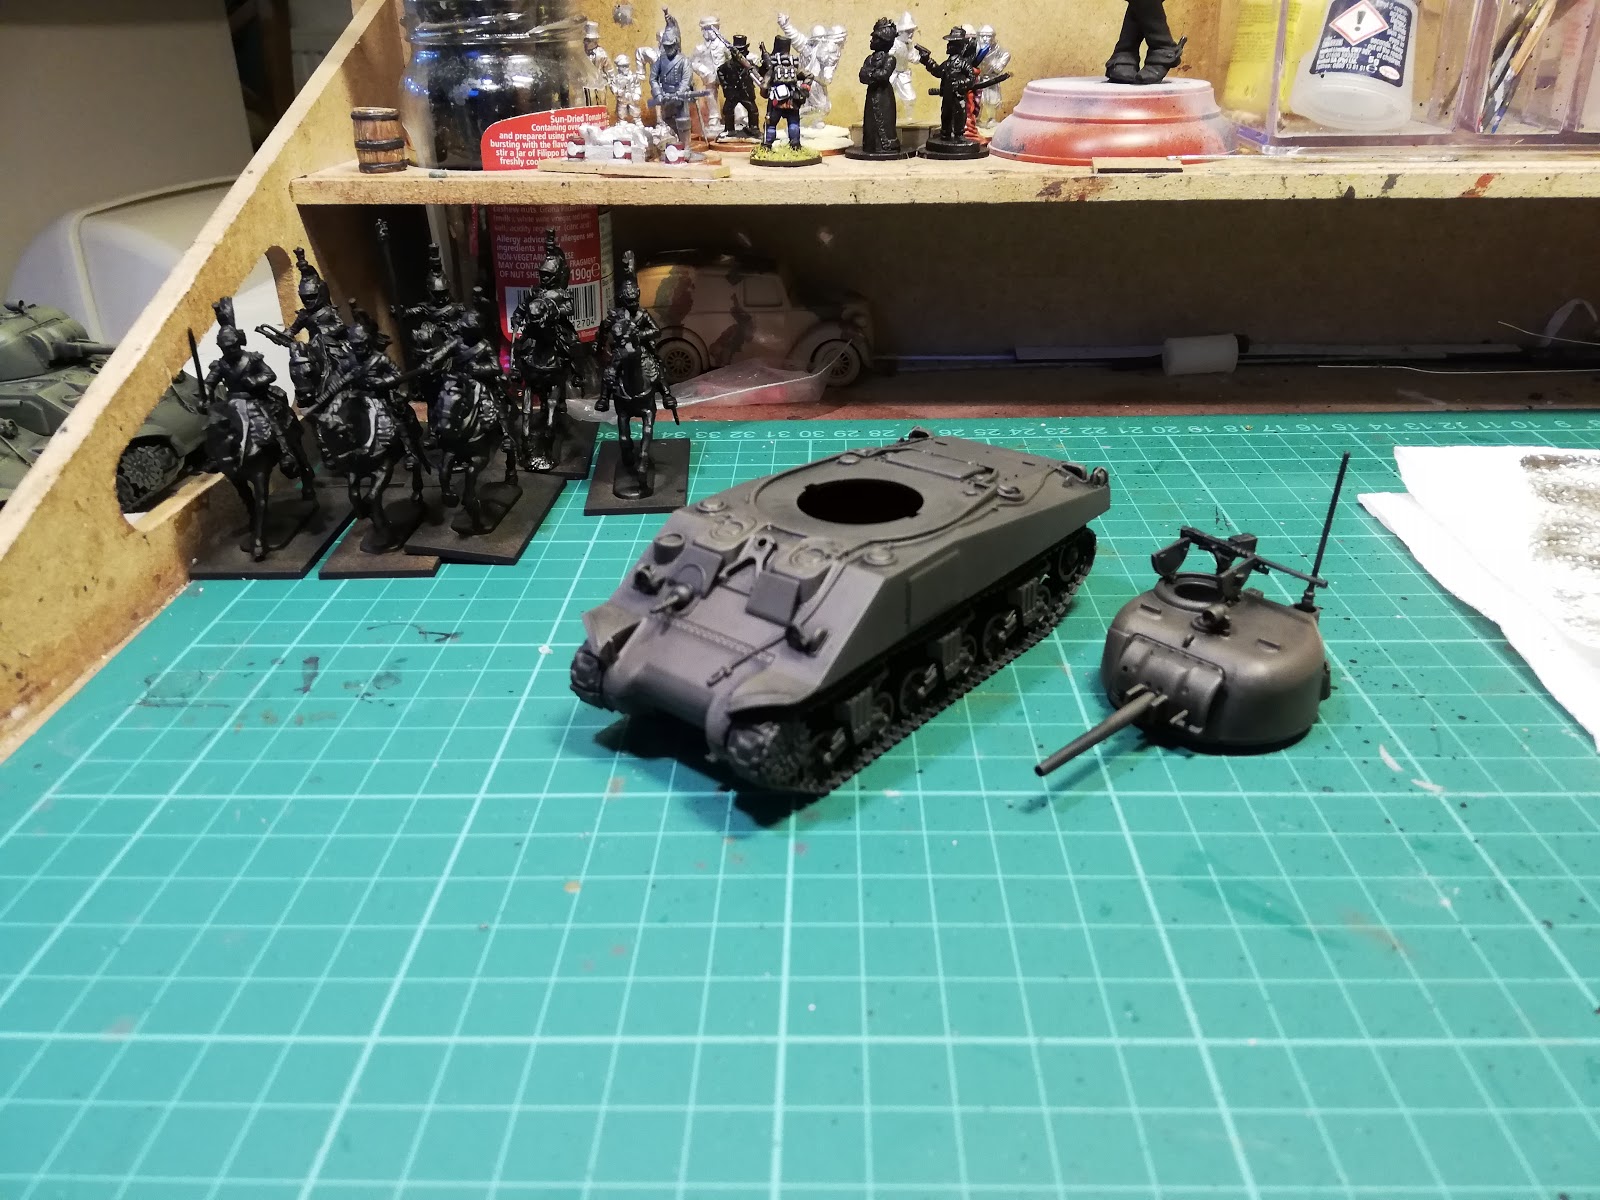
| With the turret fitted |
 |
| Third and final dry brush |
And that is basically it. Generally I dry brush all the tracks whilst I am doing the rest of the vehicle, hard to avoid them really, then I dry brush them with light grey or light brown then a light dry brush on the track parts that come into contact with the ground with some shiny metal. I don't worry to much about the rubber trim on the road wheels either as these tend to pick up and collect dust in real life so are only really black in the factory or if they have been scrubbed before an inspection or parade. Hope this has been a help to some of you.
pip pip,
General Jimbob who looks very dapper in his wine and port stained coveralls
ps. I did take a photo of the three Shermans after I had added stowage, decals and weathered them but of course I managed to delete the bloody thing...damned technology and sausage fingerdness!! And I since passed them onto their rightful owner so I don't have them at hand to photograph again..
pps. If you have any questions or if this is useful, pop a comment in the comments bit. Feedback is useful.


Thanks for the painting guide General, very useful.
ReplyDeleteNice work Jimbob
ReplyDeletecheers John
Cheers chaps, hope it was useful; it was certainly a revelation to me :D
ReplyDelete